
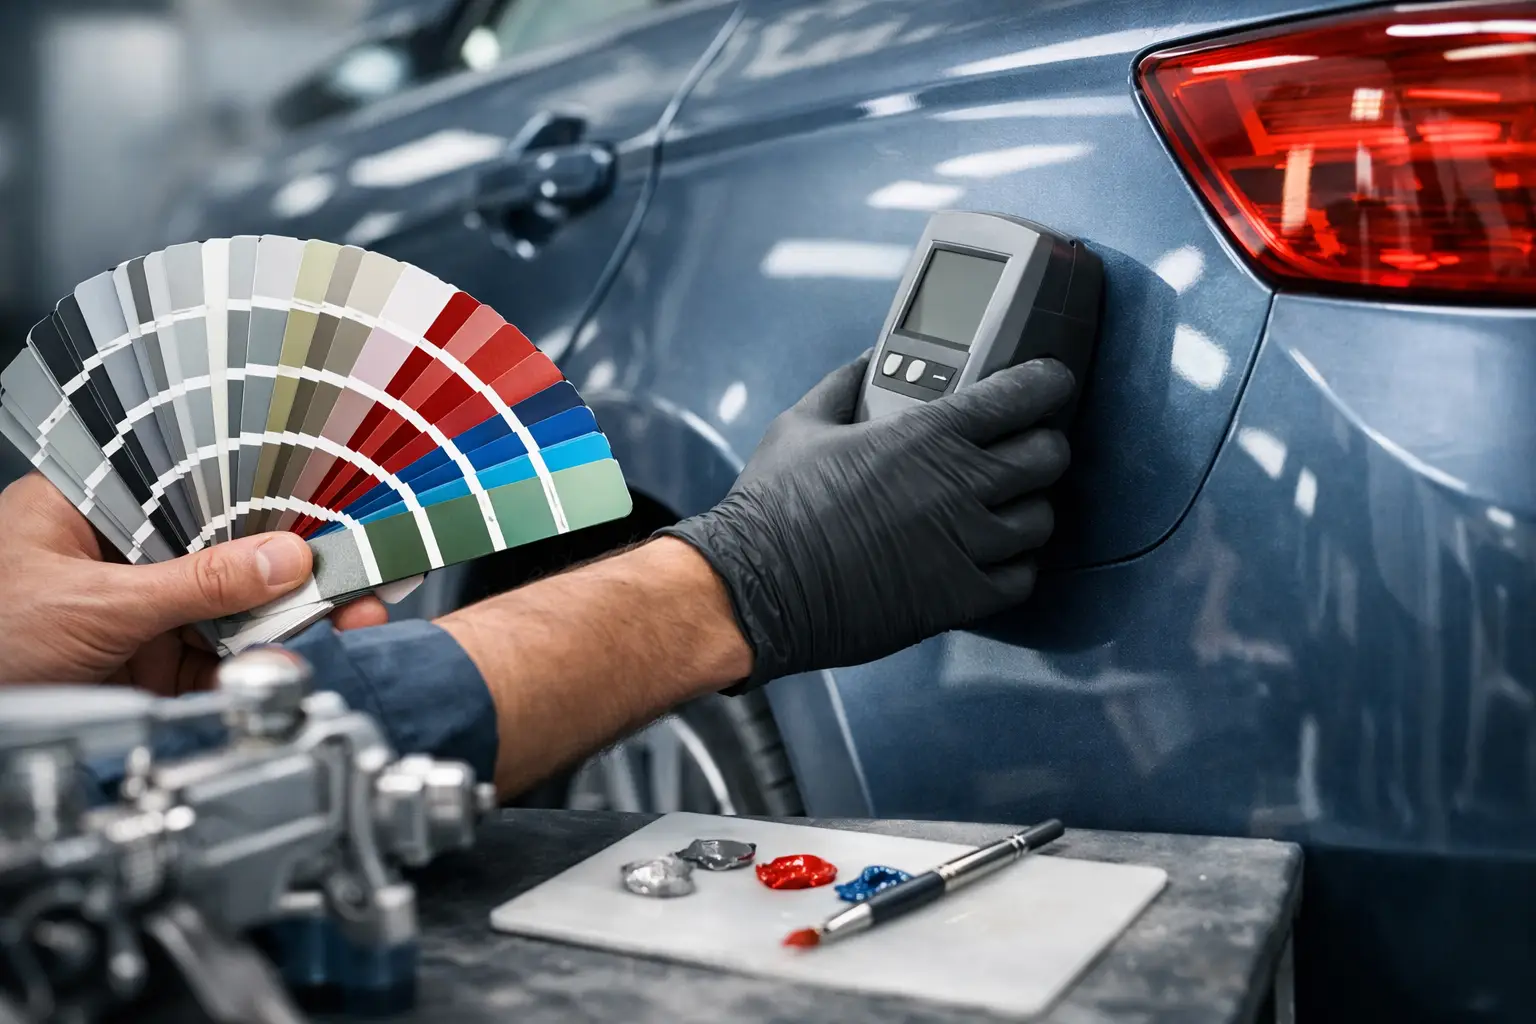
A bumper scrape can look like a small problem until the repaired area comes back a shade too dark, too bright, or noticeably different in the sun. This auto paint matching guide explains what a quality repair shop does to restore a vehicle’s color so the repair looks natural from every angle.
For drivers in Southwest Houston, Stafford, and Sugar Land, paint matching matters after collision damage, parking lot dents, peeling clear coat, and body repairs. The goal is not simply to apply paint with the same color name. It is to make the repaired section blend with the finish that is already on your vehicle.
Why Exact Paint Matching Is Harder Than It Sounds
Your vehicle may have a paint code, but that code is the starting point, not the whole answer. Manufacturers use paint codes to identify the original color formula. Over time, however, that original finish can change because of sunlight, weather, road grime, washing methods, and normal wear.
Houston heat and strong sun can make this more noticeable, particularly on a hood, roof, trunk lid, or side that spends hours exposed outdoors. A white vehicle may develop a warmer tone. Black paint can lose depth. Metallic colors can look lighter or darker depending on how the metallic flakes sit in the paint.
That is why a professional repair involves more than looking up a code and spraying a replacement panel. The technician compares the formula to the vehicle itself, makes adjustments when needed, and plans the repair around the panels next to the damaged area.
Auto Paint Matching Guide: Start With the Color Code
Most vehicles have a factory paint code on a label or plate. Its location varies by make and model, but it is often found on the driver-side door jamb, under the hood, in the trunk area, or in the owner’s documentation. The code helps the paint supplier identify the manufacturer’s approved formula and available variants.
Variants are common. Two vehicles with the same factory code may not look exactly alike after several years on the road. Paint may have been produced at different plants, applied in different production batches, or aged under different conditions. A good body shop checks the code, then verifies the result against the actual vehicle.
The paint name alone is usually not enough. Names such as silver, pearl white, midnight blue, or metallic gray can cover many different shades and formulas. If you are requesting an estimate, provide the vehicle year, make, model, and VIN when possible. That helps the shop begin the identification process, but final matching should still happen in person.
Color Is Evaluated in More Than One Light
A color can appear correct under shop lighting and different outside. Professional painters inspect test panels under several lighting conditions because daylight, shade, fluorescent lighting, and LED lighting reveal different aspects of the finish.
This is especially true for metallic, pearl, tri-coat, and color-shifting finishes. The color may appear close when viewed straight on but change noticeably at an angle. Painters call this effect flop. A proper match considers both the color and the way it reflects light.
Blending Panels Makes the Repair Less Visible
Many customers expect a shop to paint only the damaged panel. Sometimes that is appropriate, such as when damage is contained to a small area and the color can be matched cleanly. In many cases, though, blending into the adjacent panel produces a better result.
For example, a repaired front fender may be blended into the front door. The new color is gradually faded into the original finish rather than ending at a sharp panel edge. Clear coat is then applied according to the repair plan to create a consistent appearance and protect the finish.
Blending may add materials and labor, but it can prevent a visible color break between panels. This is often the right choice when the vehicle is older, the paint has faded, or the color contains metallic or pearl effects. A dependable shop should explain why blending is recommended instead of treating it as an unexplained charge.
Why Metallic and Pearl Colors Need Extra Care
Solid colors are generally more forgiving than metallics and pearls. With metallic paint, tiny reflective flakes must be distributed evenly. Spray distance, air pressure, gun technique, and the number of coats can affect how light or dark the panel appears.
Pearl and tri-coat finishes are even more involved. They often use a base color, a translucent pearl layer, and a clear coat. The number and thickness of the pearl coats affect the final shade. Rushing this process can leave a repaired area looking noticeably different under sunlight.
The Repair Under the Paint Matters Too
Paint cannot hide poor body work for long. Before refinishing begins, the damaged area must be properly repaired, shaped, sanded, and primed. A panel that is uneven underneath may show ripples, sand scratches, pinholes, or edge lines once the paint dries.
Collision damage may also involve parts behind the visible panel, including brackets, reinforcements, sensors, lights, or mounting points. Those issues should be addressed before the finishing work starts. A vehicle can look better temporarily with a quick cosmetic fix, but proper collision repair is about restoring both appearance and fit.
Paint preparation also includes careful cleaning and masking. Dust, silicone, wax, and surface contamination can cause defects such as fisheyes or poor adhesion. The vehicle needs enough cure time before reassembly, polishing, or delivery so the finish can set correctly.
What to Ask During a Paint Repair Estimate
A free estimate should give you a clearer picture of the work, not leave you guessing. Ask whether the estimate includes blending adjacent panels, removing trim or lights for proper access, repairing underlying body damage, and applying clear coat to the necessary areas.
It also helps to ask how the shop handles insurance claims. After an accident, the repair process can feel overwhelming when you are also dealing with an adjuster, rental transportation, and missed work. A shop that coordinates directly with insurance can help document the damage and address approved repair procedures without making you manage every detail alone.
Do not choose solely based on the lowest price. A lower estimate may omit blending, use a less complete preparation process, or leave out operations needed for proper reassembly. The best option depends on the damage, the vehicle’s finish, and what it takes to produce a repair you can feel good about.
How to Care for Fresh Automotive Paint
Once the repair is complete, follow the shop’s care instructions. Fresh paint needs time to fully cure, even if it is dry enough to drive home. Avoid harsh chemicals, abrasive polishes, and automatic car washes with stiff brushes during the recommended curing period.
Hand washing with mild automotive soap is usually the safer choice after the shop says washing is permitted. Keep bird droppings, tree sap, and fuel spills from sitting on the surface for long, especially during hot weather. These contaminants can damage any finish, new or old.
If the repair includes a new bumper, fender, door, or hood, inspect the vehicle at pickup in daylight when possible. Look at the color from straight ahead and from the side, then check panel gaps, trim, lights, and other areas that were removed and reinstalled. Asking questions before you leave is always easier than wondering about the repair later.
A Better Match Starts With a Better Repair Plan
Good paint matching is a combination of accurate color identification, careful preparation, skilled spraying, and smart blending decisions. It is not a one-size-fits-all process, and the right approach depends on your vehicle’s age, paint type, damage location, and surrounding panel condition.
For more than 20 years, Sosa Automotive Group has helped local drivers restore vehicles after accidents and cosmetic damage with clear estimates and insurance assistance. If your vehicle needs body repair or refinishing, bring it in for an evaluation. A close, lasting match begins with taking the time to repair the vehicle correctly.