
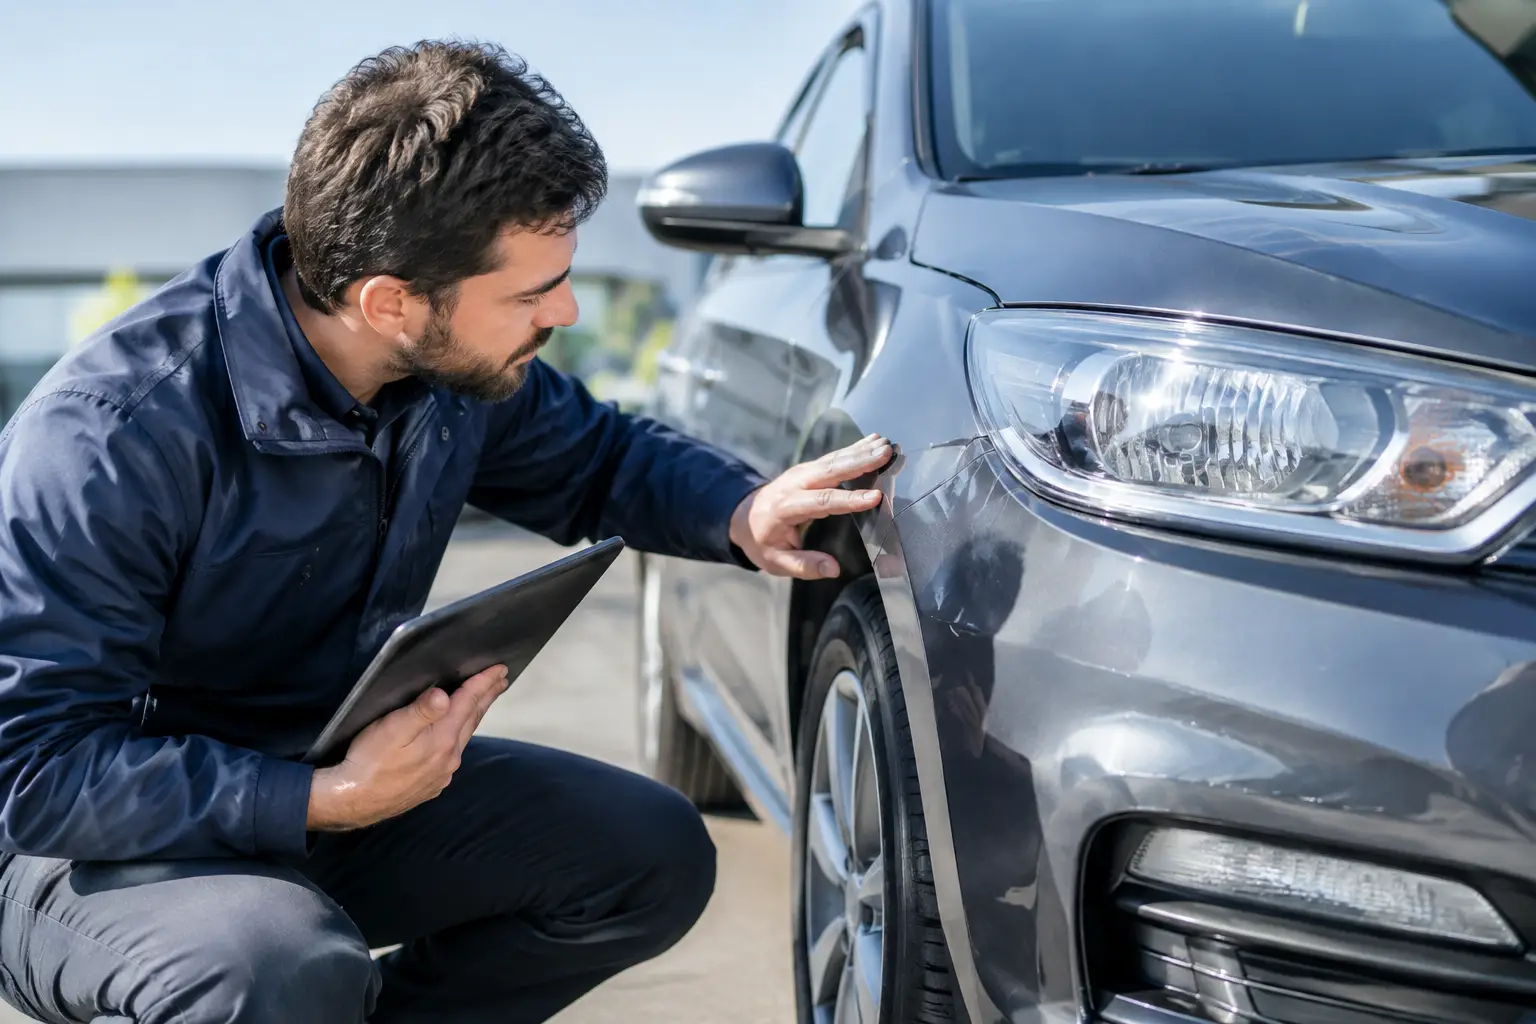
A repaired vehicle should look right, drive right, and give you confidence before you leave the shop. Knowing how to inspect a repaired vehicle at pickup helps you catch small concerns while the repair details, insurance paperwork, and shop team are all still available to review them with you.
After an accident, most drivers understandably focus on getting their car back quickly. A careful pickup inspection does not mean you expect poor work. It is simply a practical final step that protects your safety, your vehicle’s value, and your peace of mind.
Start Your Inspection Before You Drive Away
Try to pick up your vehicle during daylight hours, or ask to inspect it in a well-lit service area. Clean paint, trim, and glass make it easier to see the quality of the finished work. Rain, dust, and dim lighting can hide color differences, scratches, and uneven panel alignment.
Bring a copy of the repair estimate if you have one. Compare it with the final invoice and ask the shop to explain any changes. Collision repair estimates can change after hidden damage is found, especially behind bumpers, under panels, or around suspension components. What matters is that you understand what was repaired, replaced, or refinished.
Before starting the car, take a slow walk around it. Do not rush because someone is waiting or because you have somewhere to be. A dependable repair facility should be comfortable answering questions and addressing reasonable concerns.
How to Inspect a Repaired Vehicle Outside
Begin with the area that was damaged, then inspect the surrounding panels. Look at the vehicle from several angles rather than standing directly in front of it. Reflections in the paint often reveal issues that are harder to notice head-on.
Check paint color and finish
The repaired panel should blend naturally with the adjoining panels. Metallic and pearl paints can look slightly different depending on the angle and lighting, so step back several feet and view the vehicle from each side.
Look for a smooth, even finish. You should not see runs, rough spots, dust trapped under clear coat, sanding marks, overspray on nearby trim, or paint on glass and rubber seals. Minor variation can sometimes occur on an older vehicle with faded factory paint, but the repair should still look consistent and professionally blended.
Look at panel gaps and body alignment
Check the spacing around doors, the hood, trunk, fenders, headlights, and bumper covers. The gaps should appear even from one side to the other. Doors, the hood, and the trunk should open and close without rubbing, sticking, or requiring extra force.
A bumper cover should sit flush against the fenders and headlights. Loose clips, uneven edges, or panels that look pushed in or pulled away deserve a question before you leave. Proper alignment is more than cosmetic. It can affect weather sealing, wind noise, sensor placement, and how parts perform in a future impact.
Inspect lights, glass, wheels, and trim
Make sure headlights, taillights, turn signals, fog lights, and daytime running lights work as expected. If a light was replaced, look for moisture or fogging inside the lens. Check that mirrors, moldings, emblems, wheel-well liners, and splash shields are secure.
If the collision involved a wheel, tire, or suspension area, compare the tires for visible damage and verify that the wheels look properly centered in the wheel openings. Ask whether an alignment was performed if the impact was near a wheel or curb-side suspension component.
Check the Interior and Vehicle Systems
Collision repairs can involve more than the visible body panels. Before you leave, sit in the driver’s seat and look for items that may have been removed, reinstalled, or affected during repair.
Turn on the ignition and confirm that no warning lights remain on. Pay attention to the check engine light, airbag light, ABS light, traction control light, tire pressure light, and any advanced driver-assistance warnings. A warning light does not automatically mean a serious issue, but it should never be ignored or dismissed without a clear explanation.
Test the windows, locks, mirrors, horn, radio, backup camera, climate controls, and interior lights. If airbags deployed in the accident, ask whether the restraint system was inspected and whether required components were replaced or reset according to repair procedures.
Modern vehicles may also need calibration after work involving bumpers, windshields, mirrors, suspension, or front-end components. Features such as blind-spot monitoring, parking sensors, lane warnings, automatic emergency braking, and adaptive cruise control rely on cameras and sensors being correctly positioned. Ask whether calibration was needed and whether it was completed.
Take a Short, Careful Road Test
A short road test is one of the best ways to inspect repaired vehicle performance. Drive somewhere nearby where you can safely accelerate, brake, turn, and listen without heavy traffic creating pressure.
The steering wheel should feel centered when driving straight on a level road. The car should not pull strongly to one side, shake at normal speeds, vibrate during braking, or make new clunks, rattles, scraping sounds, or wind noise. Test the brakes gently first, then normally when it is safe.
Keep in mind that not every sound or handling concern is caused by the repair. An older vehicle may have unrelated wear, and road conditions can affect how it feels. Still, if something seems different after collision work, bring it up promptly. It is far easier for a shop to inspect a concern when you can clearly describe when it happens, such as while turning left, braking from highway speed, or driving over bumps.
Review the Paperwork Before You Go
The final repair order should show the work performed and the parts used. Read it closely enough to understand whether parts were new original equipment, aftermarket, recycled, or reconditioned. Each option can be appropriate depending on the repair plan, insurance coverage, vehicle age, availability, and budget. The key is that the parts match what was approved and are installed correctly.
Ask for clarification on any line item you do not recognize. You should also know the repair warranty terms, including what is covered and what steps to take if you notice a concern after pickup. Keep the final invoice, estimate, photos, and insurance documents together for your records and for future resale questions.
If the vehicle had structural damage, suspension work, airbag repairs, or sensor calibration, it is reasonable to ask what verification steps were completed. A professional answer should be straightforward, not vague.
When to Return to the Shop
Some concerns are obvious at pickup, while others appear after a few days of normal driving. Contact the repair shop as soon as possible if you notice warning lights, water leaks, loose trim, unusual tire wear, steering pull, new noises, paint peeling, or a feature that no longer works correctly.
Take clear photos or short videos when possible, especially for intermittent issues. Avoid trying to adjust panels, remove trim, or make your own repair before the shop has a chance to inspect it. That can make the source of the problem harder to identify.
For Southwest Houston drivers, a local shop with long-term community roots has a reason to stand behind the work after the keys are handed over. At Sosa Automotive Group, clear communication, insurance coordination, and a careful final review are part of making collision repair less stressful.
Your vehicle does not need to be perfect in every reflection to deserve your confidence, but it should be safe, complete, and repaired with care. Take the few extra minutes at pickup, ask direct questions, and leave only when the finished repair feels right to you.