
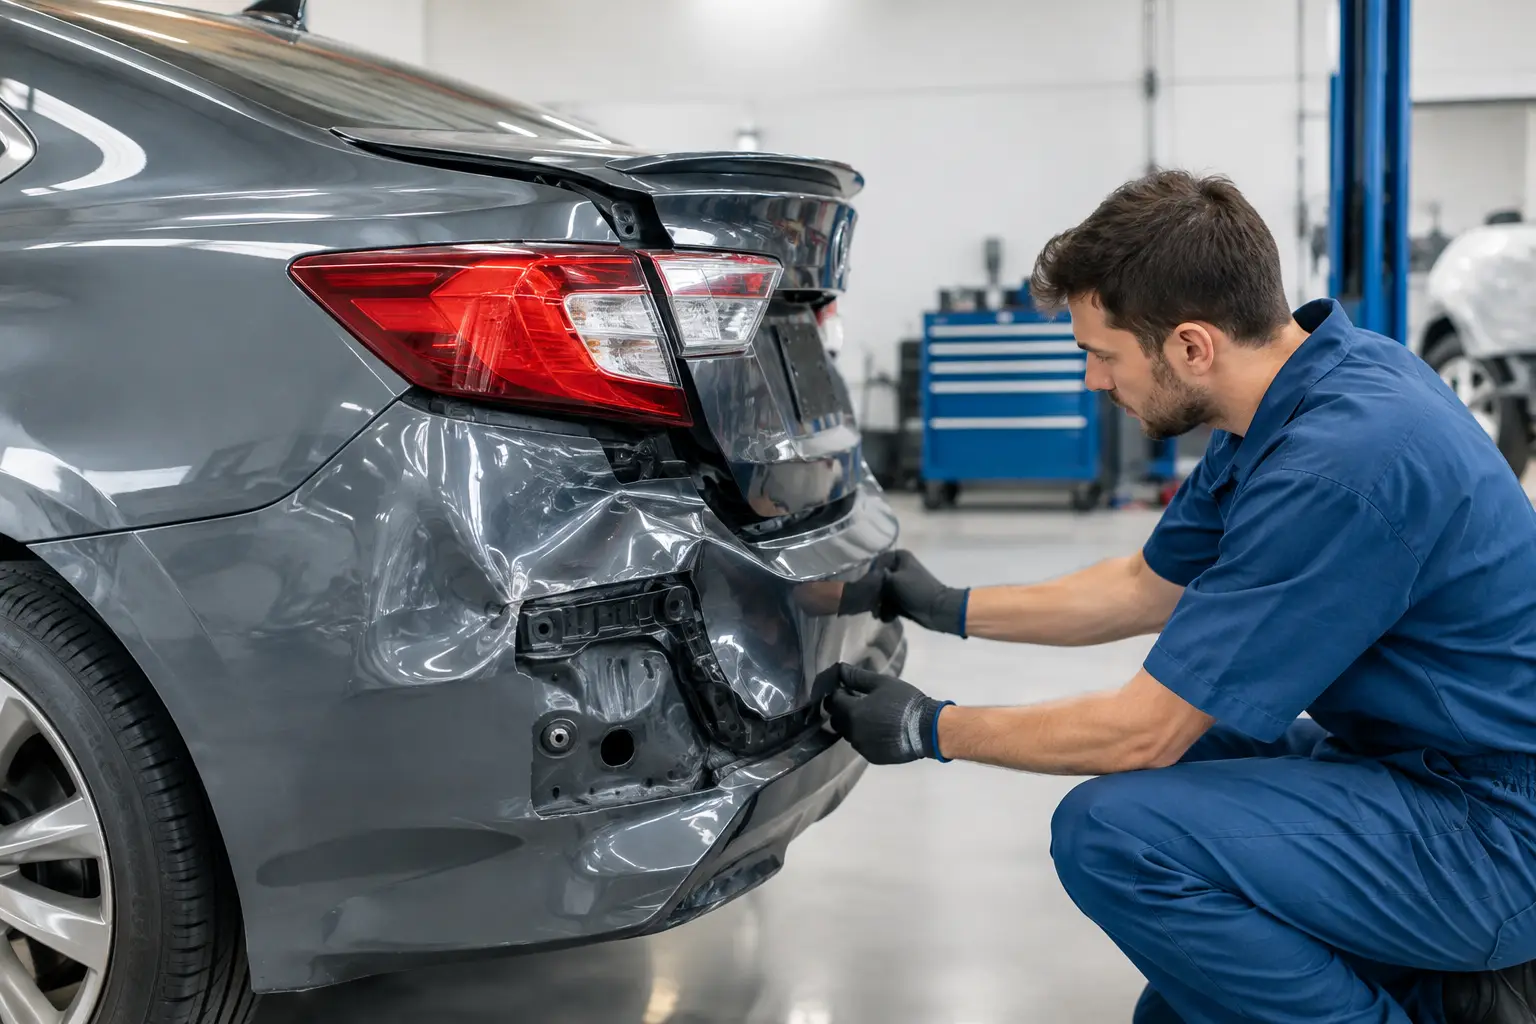
A rear-end crash can leave a vehicle with what looks like a simple dented bumper, but the visible damage is not always the full story. This rear end collision repair example shows why a proper inspection matters before anyone quotes a repair or starts applying paint. For Houston-area drivers, getting the job done right means restoring both the vehicle's appearance and the components behind the bumper that help protect you in another impact.
A Realistic Rear End Collision Repair Example
Imagine a midsize SUV stopped in traffic near Sugar Land when another driver strikes it from behind at a low-to-moderate speed. The rear bumper cover is cracked near one corner, the liftgate has a crease above the bumper line, and one taillight sits slightly out of position. The vehicle still drives, and the owner may assume it only needs cosmetic work.
After the initial inspection, however, the repair plan becomes more detailed. The rear bumper cover has absorbed the visible impact, but the foam energy absorber underneath is compressed. The reinforcement bar behind it is bent, and a mounting bracket on the passenger side is damaged. The parking sensor harness also has a loose connection. None of those issues should be overlooked simply because the SUV can still move under its own power.
This is a common situation after rear-end accidents. The outside of the vehicle gives the first clue, while a complete teardown reveals what needs attention underneath. A dependable collision repair shop documents that damage, explains the findings clearly, and works with the insurance company when a claim is involved.
What a Shop Checks Before Repairing the Rear End
The first step is a visual review of the bumper, trunk or liftgate, quarter panels, taillights, and rear glass. Technicians look for uneven panel gaps, broken clips, cracked plastic, paint damage, and signs that the rear body panel has shifted. They also check whether the trunk or liftgate opens, closes, and latches correctly.
Next comes the inspection behind the bumper cover. Modern bumpers are built as systems, not just painted plastic panels. Depending on the vehicle, the system may include an impact absorber, reinforcement bar, brackets, sensors, cameras, wiring, radar equipment, exhaust components, and blind-spot monitoring hardware.
A small collision can damage any of these parts. In some cases, a bumper cover can be repaired and refinished. In other cases, cracks near mounting points or extensive distortion make replacement the safer choice. The right answer depends on the location and severity of the damage, the vehicle manufacturer's repair procedures, and the condition of the parts after disassembly.
Checking for hidden structural damage
The rear body panel and frame rails are especially important. If impact energy traveled past the bumper reinforcement, the metal structure behind it may need measuring and straightening. A vehicle that looks acceptable from several feet away can still have shifted mounting points or a trunk floor that is no longer properly aligned.
This does not mean every rear-end collision requires major structural work. Low-speed impacts often stay within the bumper system. But guessing is not a repair strategy. Accurate measurements and a thorough inspection help determine whether the repair is minor, moderate, or more involved.
The Repair Plan for This Example
For the SUV in this example, the shop removes the damaged bumper cover and documents the hidden damage. The cracked cover is replaced rather than repaired. The compressed absorber, bent reinforcement bar, and damaged bracket are also replaced. The taillight mounting area is adjusted, and the loose parking sensor harness is repaired.
The liftgate crease is then evaluated. Because the damage is shallow and the metal has not stretched severely, a technician may be able to repair the panel instead of replacing it. That typically involves careful metal finishing, filler work where appropriate, priming, sanding, and refinishing. If the liftgate has sharp damage, torn metal, or poor alignment after repair, replacement may be the better long-term option.
Once the body repairs are complete, the replacement bumper cover and repaired liftgate are prepared for paint. Proper color matching is more than choosing the paint code listed on the vehicle. Sun exposure, age, and previous paintwork can change how a color appears. A skilled painter checks the match and may blend color into an adjacent panel when needed for a consistent finish.
After reassembly, the shop verifies that the bumper fits evenly, the lights work, the liftgate latches correctly, and all sensors operate as intended. If the vehicle has backup cameras, parking sensors, radar, or driver-assistance features, calibration or system checks may be required after the repair. That final step is not an optional detail. These features are part of how the vehicle is designed to operate safely.
Why Insurance Estimates Can Change After Teardown
An initial insurance estimate is often based on what can be seen before parts are removed. It may include a bumper repair or replacement, paint materials, and basic labor. Once the bumper cover comes off, the shop may find additional parts that were not visible during the first inspection.
That is where a supplement may be needed. A supplement is simply documentation for additional collision-related damage found during the repair process. It is normal in auto body repair, especially when hidden brackets, sensors, reinforcements, or structural components are involved.
Drivers should not feel pressured to approve shortcuts just to keep an estimate low. The goal is to repair accident-related damage correctly, using appropriate procedures and parts. A shop that handles insurance coordination can help make the process less stressful by communicating with the insurer and providing the needed repair documentation.
How Long Does Rear-End Collision Repair Take?
Repair time depends on damage, parts availability, insurance approval, paint work, and whether structural repairs or calibrations are required. A straightforward bumper repair may take only a few business days once parts are available. A repair involving a liftgate, sensors, reinforcement components, and paint blending can take longer.
The best timeline is an honest one. It is better to receive a realistic update than a promise that ignores a delayed part or an added repair found during teardown. Ask the shop how they will communicate status changes and whether they will contact you if the insurer needs additional information.
What to Do After a Rear-End Accident
If your vehicle was hit from behind, take photos of the damage and exchange information at the scene when it is safe to do so. Save your claim number if one has been opened. Even if the bumper looks minor, watch for a trunk that will not close properly, warning lights, loose taillights, unusual sensor alerts, or changes in how the vehicle tracks on the road.
Avoid treating broken bumper pieces, exposed wiring, or a loose exhaust component as cosmetic problems. Those conditions can worsen with normal driving. A free estimate gives you a clearer picture of what the repair may involve before you make decisions about the claim.
For drivers in Houston 77083, Stafford, Sugar Land, and Southwest Houston, Sosa Automotive Group provides collision repair support with free estimates and direct insurance handling. With more than 20 years of local experience, the focus is on clear answers, quality body and paint work, and repairs that address more than what is visible at first glance.
A rear-end collision is disruptive enough without wondering whether damage was missed. Bring the vehicle in for a careful inspection, keep your repair paperwork, and choose a shop that will explain the work in plain language before your vehicle goes back on the road.